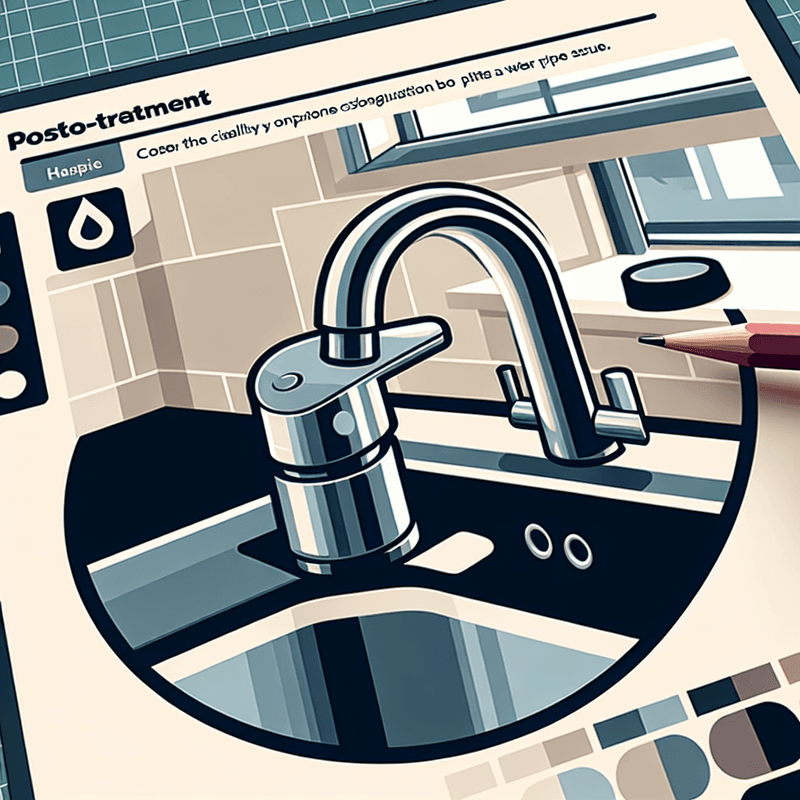
Have you ever been kept awake at night by the constant, echoing drip of a leaky tap? Or perhaps you’ve noticed your water bill creeping up, without an obvious explanation. Dripping taps are a common household issue that, while seemingly minor, can lead to wasted water and increased bills over time. This post aims to shed light on why taps leak, how you can fix them yourself, and when it might be time to call in a professional.
Understanding Why Taps Leak
One of the first steps in tackling a dripping tap is understanding why it's happening. The most common cause is a worn-out washer. The washer is a small, rubber disk that seals the gap to stop water flowing when the tap is turned off. Over time, washers can become stiff, torn, or worn out, which leads to a persistent drip. Another potential cause could be a damaged valve seat, which is the part of the tap that the washer sits against. If the valve seat is corroded or grime has built up, it can prevent the washer from sealing properly.
Signs Your Tap Needs Attention
A dripping tap is often easy to spot, but there are other signs that you might need to take a closer look. For instance, if the tap handle is stiff or squeaks when turned, it may indicate that the internal mechanisms are beginning to fail. If you notice rust or mineral deposits around the spout or handle, this can also be a precursor to leaking problems.
Step-by-Step Guide to Fixing a Dripping Tap
Before you start, make sure to turn off the water supply to the tap. You don’t want to turn a simple repair into an impromptu indoor fountain!
1. Remove the Handle: Most tap handles are held in place by a screw, often hidden under a decorative cap in the centre of the handle. Carefully remove this cap and then the screw to release the handle.
2. Dismantle the Tap Stem: With the handle off, you’ll see the stem, which houses the washer. Use an adjustable wrench to unscrew this piece. Keep track of all parts as you disassemble the tap to ensure easy reassembly.
3. Replace the Washer: Once you have access to the washer, pry it off and replace it with a new one of the same size and shape. This is usually a straightforward procedure but handling these small parts can sometimes be fiddly.
4. Inspect the Valve Seat: Using a flashlight, look down into the tap body and inspect the valve seat. If you see cracks, pits, or mineral deposits, these may also need to be addressed to prevent further leaking.
5. Reassemble the Tap: Once you're confident that the washer and, if necessary, the valve seat are in good condition, reassemble the tap reversing the steps you took to take it apart.
6. Test Your Work: Turn the water supply back on and monitor the tap for leaks. If it still drips, you might need to disassemble again and check if everything is fitted correctly and tightly.
When to Call a Professional
While many dripping taps can be fixed at home with a few tools, there are situations where it's best to call in a professional. If you have an older tap, or one that is part of an integrated system like a mixer or a shower unit, the complexity of repairs increases. Also, if after replacing the washer and inspecting the valve seat the problem persists, the issue may be deeper in your plumbing system.
Additionally, if you notice multiple leaking taps or other signs of systemic water pressure issues, such as banging pipes (a condition known as 'water hammer'), professional diagnosis and repair will be necessary to avoid potentially costly damage.
Preventing Future Leaks
Regular maintenance can help to extend the life of your taps and prevent leaks from developing. This includes cleaning taps regularly to prevent mineral build-up and periodically checking and replacing washers before they degrade completely. Additionally, consider the pressure of your water supply; too much pressure can cause undue wear on tap components.
Conclusion
Fixing a dripping tap is a valuable skill that can save water and reduce your household bills. By following the simple steps outlined, you can often repair minor issues yourself. However, knowing when to call in a professional is just as important to ensure your home’s plumbing remains in good working order. Remember, the key to long-lasting tap hardware is regular maintenance and timely repairs.


