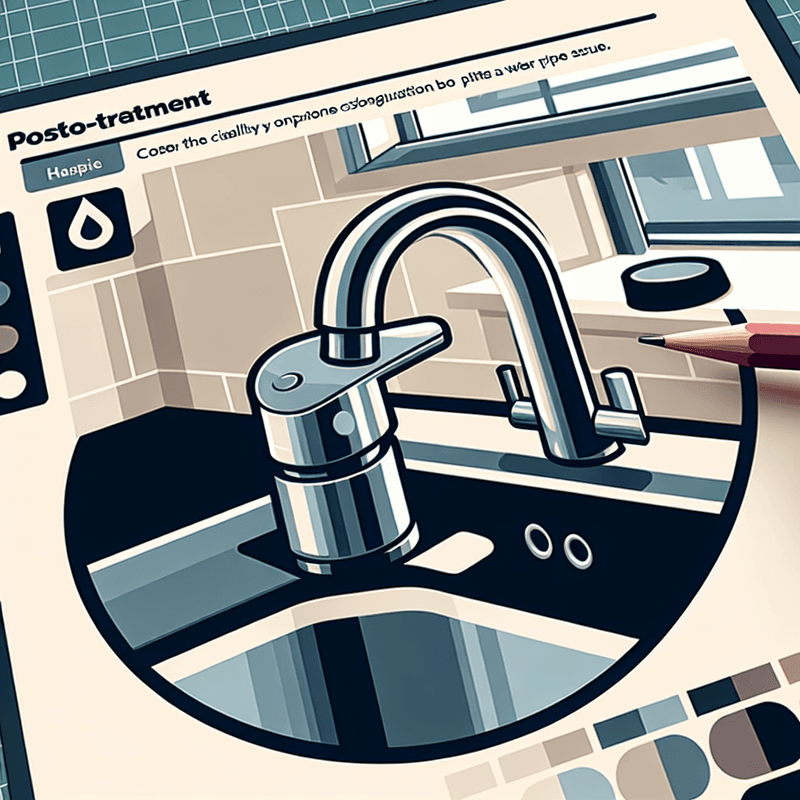
When installing or maintaining a mixer tap in your kitchen or bathroom, one common issue you might encounter is a leak developing at the base of the tap. This not only causes water wastage but can also lead to water damage on your countertops and cabinets. Understanding why this occurs and how you can fix it can save you both time and potentially costly repairs.
Understanding the Causes of Leaks at the Base of a Mixer Tap
Leaks at the base of mixer taps are typically caused by wear and tear of the internal components such as the O-ring or the washer. These small parts play crucial roles in ensuring a tight seal where the tap base meets the sink. Over time, frequent use can cause these parts to degrade or become loose, leading to water escaping through any available gaps.
Symptoms Indicating a Potential Leak
Before tackling the repair, it's essential to confirm that the leak is indeed coming from the tap's base. Some signs to look out for include:
- Consistent puddling of water around the base of the tap.
- Visible water trails leading down from the tap’s base into the sink.
- A decrease in water pressure might indicate that not all water is making its way through the tap correctly.
Steps to Fixing a Leaky Mixer Tap
1. Turn Off the Water Supply
Before beginning any repair, it’s essential to shut off the water supply to the tap. This can usually be done via the isolation valves located under the sink.
2. Remove the Tap’s Handle
In most mixer taps, a small screw is hidden beneath a decorative cap on the handle. Gently pry off the cap, unscrew it, and carefully remove the handle to expose the inner components.
3. Replace the O-Ring and Washer
With the handle off, you can now access the O-ring and washer, usually found around the base of the spindle. Remove the old ones, and replace them with new, correctly sized replacements. These are available at most hardware stores.
4. Reassemble the Tap
Once the new washer and O-ring are in place, reassemble the tap by reversing the disassembly process. Ensure everything is tight and secure to help prevent future leaks.
5. Turn the Water Supply Back On
Once the tap is reassembled, turn the water back on and check for leaks. If it still leaks, it might be tightness or alignment issues, or sometimes, a more complex problem might be at hand, such as damage to the tap’s body or pipe connections.
When to Call a Professional
If, after attempting the above steps, the tap continues to leak, it may indicate a more serious issue that requires professional attention. Likewise, if you’re uncomfortable performing these steps on your own or lack the correct tools, it’s advisable to call a skilled plumber. They can diagnose the issue quickly and have the necessary tools and expertise to repair it efficiently.
Preventing Future Leaks
Preventative measures can extend the life of your tap and minimize the risk of leaks. Regular maintenance checks, not over-tightening the tap, and ensuring no undue pressure is placed on the tap’s components can all help. Softly opening and closing taps will also preserve the integrity of the internal parts.
Conclusion
A leaking mixer tap can be a nuisance, but with the right tools and a bit of know-how, it's a problem that can often be fixed at home. Remember, regular maintenance is key to preventing such issues from reoccurring. However, don’t hesitate to consult a professional if the problem persists or if you’re unsure about performing the task yourself. Involving a professional can often be the quickest and safest route to ensuring your plumbing remains in optimal working condition.
This straightforward approach not only prolongs the life of your fixtures but also saves you time and money by avoiding unnecessary water damage and excessive water bills.


