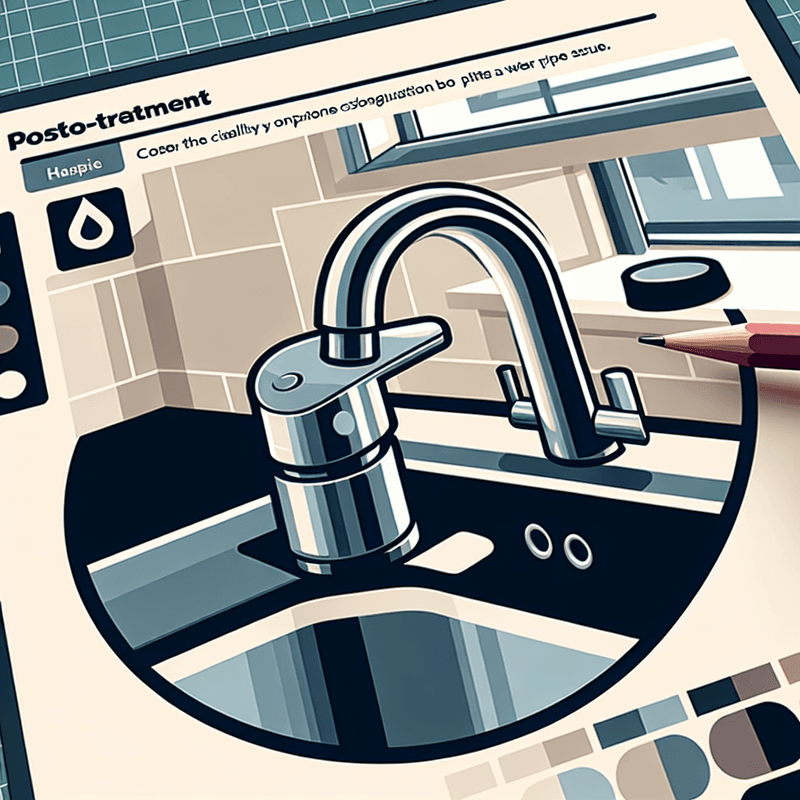
When it comes to mixer taps, a persistent drip or leak is more than just a minor annoyance — it's a symptom of an underlying issue that demands attention. This problem, though common, can lead to increased water bills and potential damage if left unchecked. Through understanding the mechanics behind your mixer tap, identifying the cause of the drip, and applying some practical repair techniques, you can save time, reduce unnecessary water wastage, and extend the life of your tap.
Mixer taps blend hot and cold water, allowing you to achieve the perfect temperature with a single lever or handles. However, the simplicity of their external operation belies the complexity of their internal mechanics. Leaks or drips often signal that something within these components isn't working correctly.
Understanding Why Mixer Taps Leak or Drip
The Role of Cartridges and Washers
The two main types of mixer taps you’ll find in kitchens and bathrooms are single-lever and dual-handle. Single-lever taps typically use a cartridge mechanism that controls flow and temperature with one movement. In contrast, dual-handle taps often use separate washers. Wear and tear on these crucial components are the most common culprits behind dripping taps.
Washer Deterioration
In taps relying on washers, these small but vital parts bear the brunt of frequent use. Over time, washers can wear out or become stiff and less effective at forming a water-tight seal. When this happens, water may start to seep through, resulting in that all-too-familiar drip.
Cartridge Issues
For taps using cartridges, problems can arise when the cartridge itself becomes blocked with mineral deposits or deteriorates. This can disrupt the flow and mix of water, causing leakage or dripping.
How to Identify the Cause of the Drip
Visual Inspection
Start with a visual inspection of your tap. Look for signs of moisture or small drips around the spout, handles, or base. Regular dripping when the tap is turned off is a direct indication of an issue with the internal sealing mechanism — likely a washer or cartridge.
Listening for Sounds
Sometimes, a faulty tap will make unusual sounds. A squeaking or grinding noise when you turn the tap could suggest that internal components need lubrication or replacement.
DIY Tips for Fixing a Dripping Mixer Tap
Tools You Will Need
- Adjustable wrench
- Screwdriver set
- Replacement washers or cartridges (depending on your tap type)
- Plumbers' tape
- Cloth to protect the tap's finish
Step-by-Step Guide
1. Turn Off the Water Supply: Always start by turning off the water supply to your tap. This is usually done at the valve under the sink or the main water supply if no local valve is present.
2. Plug the Sink: Use a sink plug or a cloth to block the drain. This prevents any small components from accidentally going down the drain during repairs.
3. Remove the Tap Handle: Most tap handles are secured with a screw, often hidden under a decorative cap. Carefully remove the cap and then the screw.
4. Replace the Washer or Cartridge: Once open, you can access the old washer or cartridge. Take note of its position and orientation as you remove it — replacing it correctly is crucial. Fit the new washer or cartridge, ensuring it sits snugly.
5. Reassemble the Tap: Put everything back together in reverse order of disassembly. Be cautious not to overtighten screws, which can damage new components.
When to Call a Professional
If after attempting these DIY steps the drip persists, or if the tap’s components are unusually difficult to remove or in poor condition, it’s wise to call in a professional plumber. They can provide a more thorough examination and perform repairs that might be beyond the scope of typical DIY work.
Preventive Measures to Avoid Future Leaks
Regular maintenance is key to prolonging the life of your taps. Here are a few tips:
- Regularly clean your tap, including aerators and handles, to prevent mineral buildup.
- Periodically check and tighten fittings and connections.
- Consider getting your plumbing system checked by a professional at least once a year for wear and corrosion.
Conclusion
Dealing with a dripping mixer tap early can prevent more severe issues from developing. By understanding the basic mechanics, preparing with the right tools, and tackling the problem head-on, you can ensure a smooth-running kitchen or bathroom. Remember, staying proactive about maintenance is your best defense against future plumbing woes, but when in doubt, don't hesitate to call a professional.


