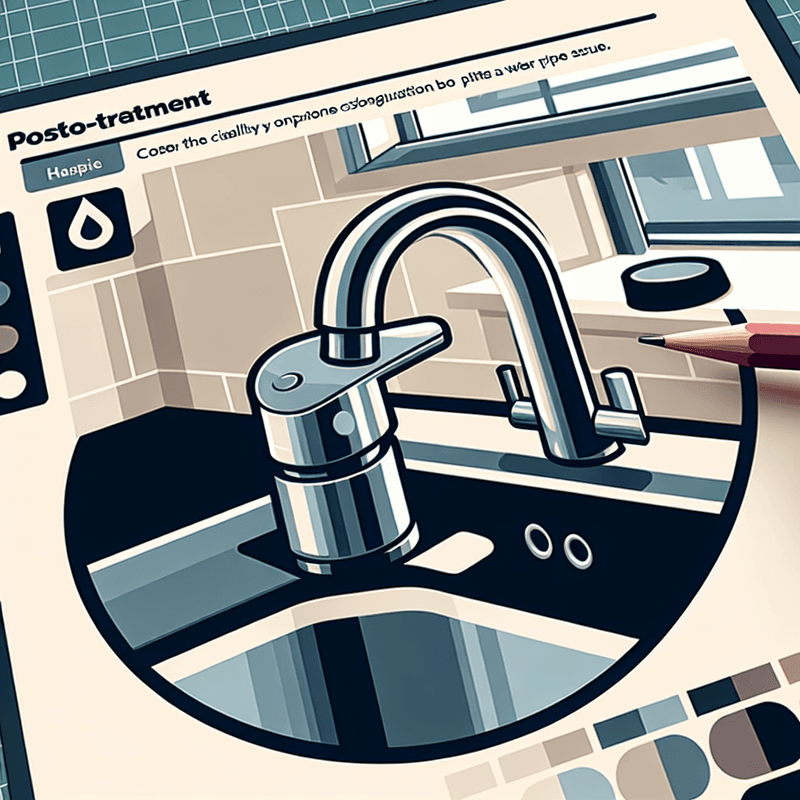
Ever found yourself lying in bed and being kept awake by the constant, monotonous drip of a tap? Not only is it annoying, but a dripping tap can also waste a surprising amount of water, potentially adding to your utility bills. Tackling a dripping tap is approachable for many DIY enthusiasts, but understanding why it happens and when to call in a professional can save you both time and unnecessary hassle.
The incessant dripping of a tap is commonly due to a worn-out washer or a faulty valve seat, among other causes. In this blog post, we'll dive deeper into the mechanics of why taps start dripping, how you can fix them yourself, and how to know when it’s time to call in a professional plumber.
Understanding the Common Causes of a Dripping Tap
The mechanics behind a tap are fairly simple, but several factors can lead to that annoying drip. Here are the most common ones:
1. Worn Out Washer
This is the classic culprit. The washer presses against the valve seat, and over time, this constant pressure can cause the washer to wear out, resulting in a drip. If your tap uses a rubber washer, this issue is particularly common.
2. Faulty Valve Seat
The valve seat can also wear out or become corroded. If the valve seat - which the washer presses against to create a seal - is damaged, it will cause leaking.
3. Improper Washer Installation
Sometimes the washer itself might not be the problem but how it was installed. An incorrectly sized or loosely fitted washer can cause dripping.
4. High Water Pressure
Occasionally, the water pressure in your pipes might be too high for periods during the night, which can lead to sporadic dripping.
5. Worn O-rings
In taps with a cartridge, the O-rings can wear out. These are small discs attached to the stem screw that holds your tap's handle in place. If these become loose or worn, it can lead to leaks.
DIY Tap Repair: A Step-by-Step Guide
Feeling ready to tackle that dripping tap? Here’s a straightforward guide to help you get started:
Tools You’ll Need:
- Adjustable spanner
- Screwdriver
- Replacement washers and O-rings
- Pliers
Steps to Fix a Dripping Tap:
1. Turn Off the Water Supply
Ensure the water supply is completely turned off before you begin. This prevents any accidental flooding or water wastage.
2. Plug the Sink
It’s a small step but vital. Plug the sink to prevent any small parts like screws or washers from falling down the drain.
3. Dismantle the Tap
First, remove the tap’s handle. This is typically attached via a screw, which may be hidden under a decorative cap. Once the handle is off, use your spanner to remove the nut, which will give you access to the washer and valve seat.
4. Inspect the Washer and the Valve Seat
Check the washer and the valve seat for any wear or damage. Replace the washer if it’s worn out. If the valve seat is damaged, it may also need replacing or reconditioning.
5. Replace the Washer and/or Valve Seat
Fit the new washer and recondition the valve seat if necessary. Make sure everything is snug and secure.
6. Reassemble the Tap and Turn On Water
Put everything back together and slowly turn on the water supply to check if the drip has stopped. Listen and observe for any leaks.
When to Call a Professional Plumber
Sometimes, a job might look simple but could quickly become complex. If the valve seat is severely damaged or if the tap continues to drip after you’ve replaced the washer, it could indicate a more serious issue. In cases where the water pressure is causing leakage, adjusting this involves more than just simple home tools and should be handled by a professional.
Plumbers have the tools, expertise, and experience to handle complications that may not be apparent initially. An experienced plumber can also offer a longer-term solution that not only fixes the tap but prevents future issues.
Long-Term Prevention Strategies
Preventing tap leaks starts with regular maintenance. Periodically check and replace washers and O-rings before they wear out and cause a problem. Also, consider installing a water pressure regulator to protect your home’s entire plumbing system, including the taps.
Conclusion
Fixing a dripping tap is often straightforward but knowing when to bring in the experts is also crucial. By understanding what causes tap issues and how to address them, you can ensure your taps function well and continue to be a reliable part of your home’s plumbing system. Remember, taking action at the first sign of a problem can often save you time and money down the line. If ever in doubt, don’t hesitate to call a professional plumber.


